

Badges & Tiers
Badges are small tier or certification labels — think Premier, Certified, or Verified — that appear as compact pills on an integration’s listing in your directory. They’re a quick, visual way to signal status or quality without adding clutter. This article covers how to create badge labels and assign them to your integrations.
What badges are (and aren’t)
A badge is just a label. You create a set of badge names, tick the ones that apply on each integration, and they show up as pills on the listing. That’s the whole feature.
Heads up: Badges are labels, not a filter facet. Visitors can’t click a badge to narrow the directory, and badges don’t appear in the front-end filter sidebar. If you want people to filter by something — like a pricing model or platform — use a filter group instead. See Managing Your Filters for how to set that up.
Create & manage badge labels
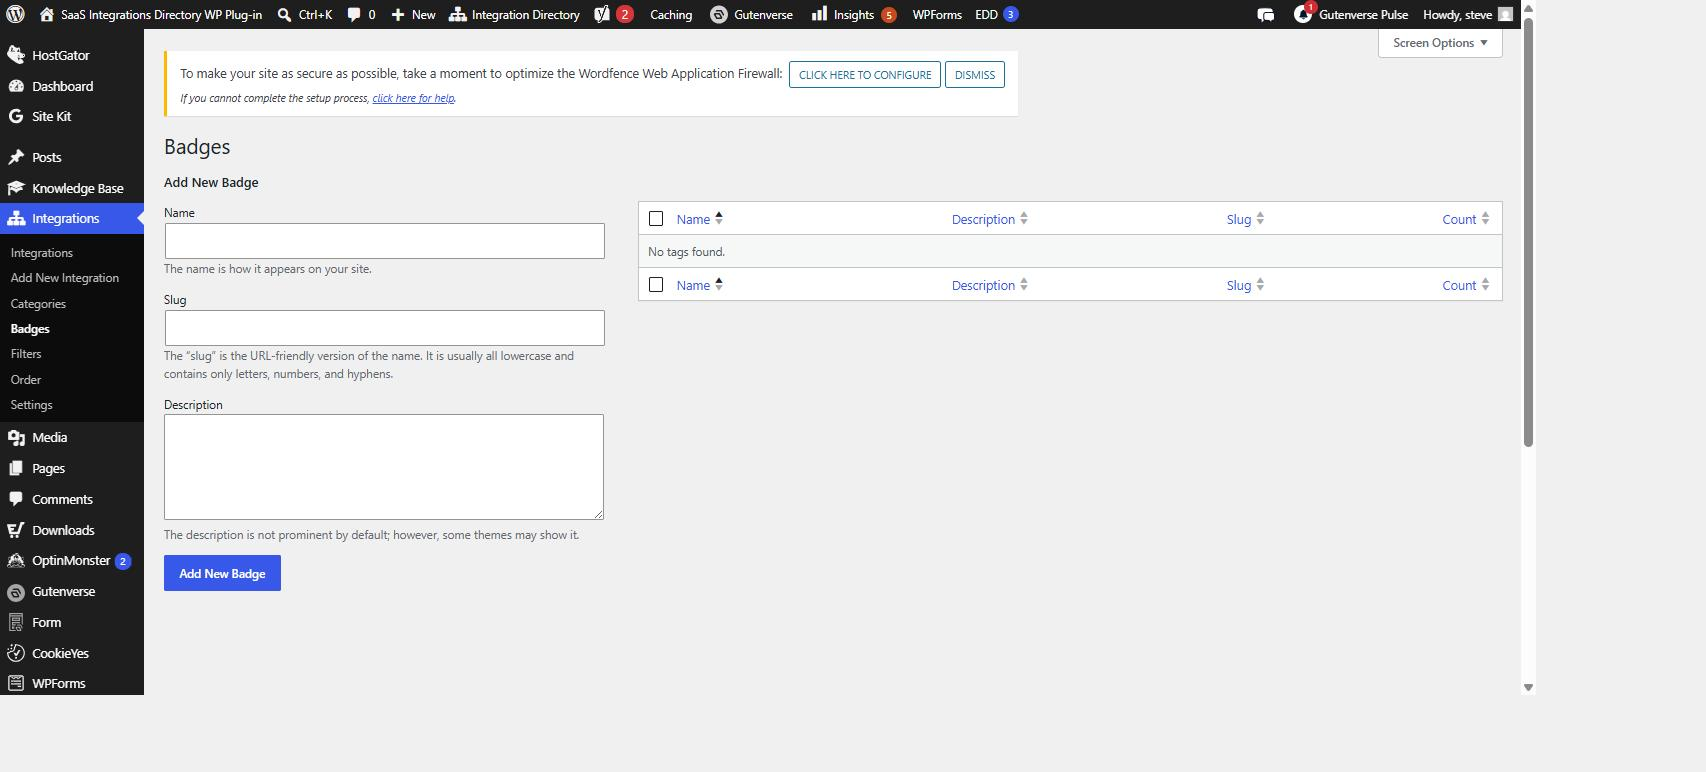
Badge labels live on their own admin screen. Go to Integrations → Badges. This is a standard WordPress taxonomy screen, so it behaves just like the core Categories or Tags screens you already know — a Name field on the left and the list of existing badges on the right.
- Add a badge — type a name (for example, Premier) in the Name field on the left and click Add New Badge.
- Rename a badge — hover the badge in the list on the right, click Edit, change the name, and update. The pill text updates everywhere that badge is in use.
- Delete a badge — hover the badge and click Delete. This removes the label from every integration it was assigned to; it does not touch the integrations themselves.
Badges are flat — there’s no parent/child nesting. Keep the list short and meaningful so the pills stay easy to scan.
Assign badges to an integration
You assign badges in the integration editor, not on the Badges screen.
- Open the integration you want to label (or add a new one under Integrations → Add New).
- Find the Badges box in the editor’s side column.
- Tick every badge that applies. You can assign as many as you like.
- Update the integration to save.
Once saved, the selected badges render as pills on that integration’s card in the directory listing. An integration with no badges ticked simply shows no pills — nothing else changes.
Heads up: Badges are set in the editor only. In this build they are not a CSV column, so importing or exporting via Integrations → Settings → Import / Export won’t carry badge assignments. If you bulk-import integrations, plan to tick their badges by hand afterward.
Where badges show up
Badge pills appear on the integration listing wherever your directory is published with the [integration_directory] shortcode. They’re purely visual. Because the badge taxonomy is hidden from the REST API and has no public archive pages, there’s no separate badge browse page — and, again, no front-end filter built from them.
Badges vs. filter groups
It’s easy to mix these up, so here’s the quick comparison:
| Badges | Filter groups | |
|---|---|---|
| Purpose | Display a tier or certification label | Let visitors narrow the directory |
| Managed at | Integrations → Badges | Integrations → Filters |
| Visitor can filter by it? | No | Yes |
| Shows as | Pills on the listing | A filter section in the directory |
| Set via CSV? | No (editor only) | Yes (one column per group) |
If you find yourself wishing visitors could click a badge to see only matching integrations, that’s your cue to build it as a filter group instead. The article Managing Your Filters walks through creating groups, adding options, and how filtering behaves — including the OR-within-a-group, AND-across-groups behavior and the per-group ?f_<key>= links.