

Publishing Your Integrations Directory
The one thing you have to do
Once the plugin is installed and licensed, putting your directory on your site takes a single step: add the shortcode [integration_directory] to a page. That one shortcode renders the whole directory — the listing, the search box, the category and filter controls, and the sort dropdown — using your current settings. There is nothing else to wire up.
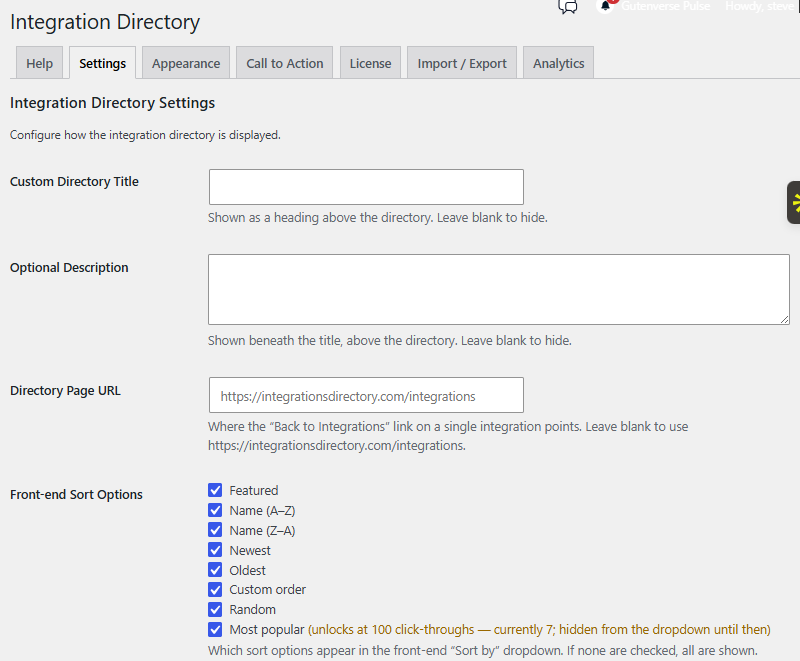
In the WordPress admin, create a new page (or edit an existing one), drop [integration_directory] into the content, and publish. Visit the page and your directory is live.
Heads up: the bare shortcode uses your defaults out of the box. You don’t need any attributes to get started — add them later only when you want to change what shows.
Recommended: an Integrations page in your main menu
For a clean, memorable home for your directory, we recommend creating a dedicated Page:
- Title it Integrations so its URL becomes the plain
/integrations. A short, obvious address is easy to share and easy for visitors to remember. - Add the shortcode
[integration_directory]as the page content, then publish. - Add the page to your top-level navigation menu so visitors can find it from anywhere on your site. In the admin, go to Appearance > Menus (or your theme’s menu editor) and add the Integrations page to your primary menu.
That’s the whole setup. From here your directory has a permanent home that both people and search engines can reach.
The directory goes public once your license is active
The public directory only shows to your visitors once your license is active. Until then, the directory is visible to logged-in administrators only — so you can build and preview everything privately, and it appears for the public the moment licensing is in place. If your page looks empty to logged-out visitors but fine to you as an admin, that’s the sign to check your license. See the Installation article for activating and troubleshooting your license.
No archive page to configure
There is nothing extra to set up for the individual integration pages. Each integration automatically gets its own public URL, and permalinks are flushed for you when the plugin activates — you don’t need a separate archive page or any manual permalink steps. Just publish your page with the shortcode and the rest is handled.
Going further, later
The bare shortcode is deliberately simple. When you’re ready to customize, you have three easy paths — none of them required to get live:
- Change what shows — attributes on the shortcode let you set the layout, columns, which controls appear, and more. See Shortcode Options.
- Style it — set an accent color, card style, and corner rounding with no CSS. See Appearance & Styling.
- Place it without a shortcode — if you prefer the block editor, add the Integration Directory block instead. See Using the Block Editor.
Next steps
With your directory live, the next thing to do is fill it and organize it:
- Add integrations — create the profiles that appear in your directory. See Building an Integration.
- Organize them — group integrations so visitors can browse and narrow the list. See Setting Up Categories and Managing Your Filters.
Related articles
- Installation — install the plugin and activate your license.
- Building an Integration — create the integration profiles that fill your directory.
- Setting Up Categories — group integrations so visitors can browse by type.
- Managing Your Filters — add faceted filter groups for narrowing the list.
- Shortcode Options — the full list of
[integration_directory]attributes. - Appearance & Styling — theme your directory with no CSS.
- Using the Block Editor — place the directory with the block instead of a shortcode.